|
Correct tile chipping while cutting
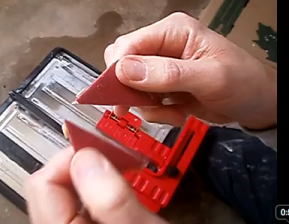
One of our customers (Thanks David!) sent in the following photos in for guidance on how to correct chipping that he was experiencing on his tiles as they exited the wet saw.
 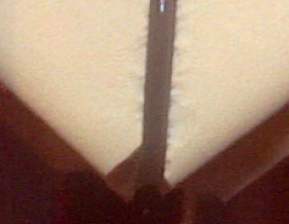
As you can see, he also has higher chipping throughout the tile cut.
This is not an uncommon occurrence for people who do not regularly cut tile. TileSizer™ can hold the smaller tiles to make them appear as if they are a virtual 10” x 10” tile (approx.) but it cannot correct actual cutting issues.
So what can be done?
First and foremost, SLOW DOWN. There is an old saying, “slow and steady wins the race.” If you try to push the tile through against the force of the opposing rotating wet saw, you will increase the amount of chipping throughout the cut (Figure B). Some slight chipping can be expected, even with the best blade, but Figure B is certainly more than I would like to see. To draw an analogy, the ceramic tile is kind of like when you put that chocolate syrup that hardens on top of ice cream. When your spoon cuts through it it chips because it's just a hard top coating. Similar to your tile -- it's a ceramic tile with a hard top decorative coating. You should only GUIDE the tile through at a slow, smooth and steady pace. The blade should do all the work.
Next, if you have replaced the blade, make sure it is secure. If you see the blade wobble as it rotates, then it’s not possible to get a good cut. Make sure the wet saw is unplugged before you check anything related to the blade.
Also check the water level because as the name “wet saw” implies, the blade needs to be “wet”, or have enough water cycled through, in order to work properly. If the blade sparks when it interacts with the tile, you need more water.
TIP: If you have an under mount blade that is attached to the table portion of the wet saw, you can try turning the tile upside down so that the blade enters the top of the tile first and exits on the back portion.
If you are using TileSizer™ for diagonal cuts, be sure to place the tile into one of the notches provided under the left clamp, and then move the right arm over and place the opposing side of the tile under the right clamp. Once it’s secure, tighten with the black nob. The tile should not be able to move once it’s in there.
|
